


Installation Instructions for 3CX
Installation Instructions for 3CX
Basic setup guide
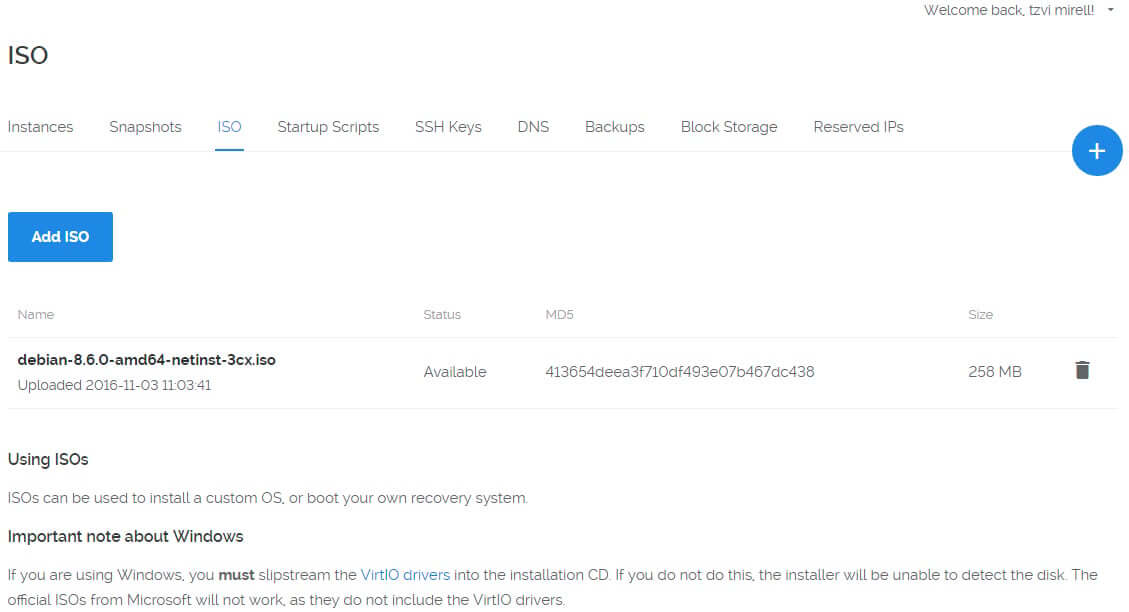
1. Upload the ISO Image to Vultr, from the URL which is provided by 3CX.
2. Add the ISO Image into Vultr, by giving it the proper URL provided by 3CX.
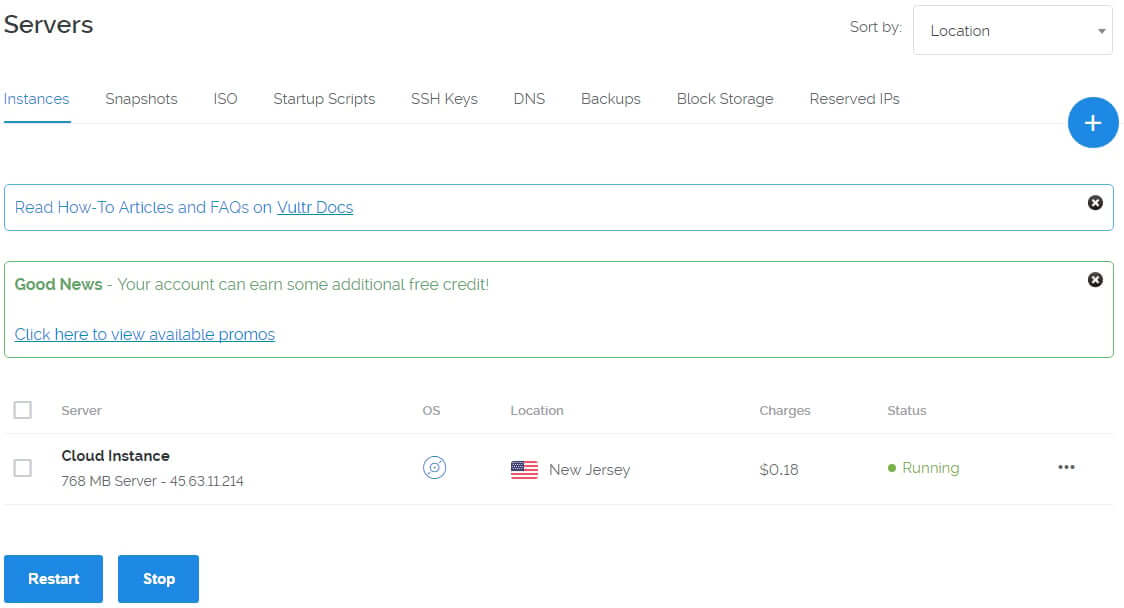
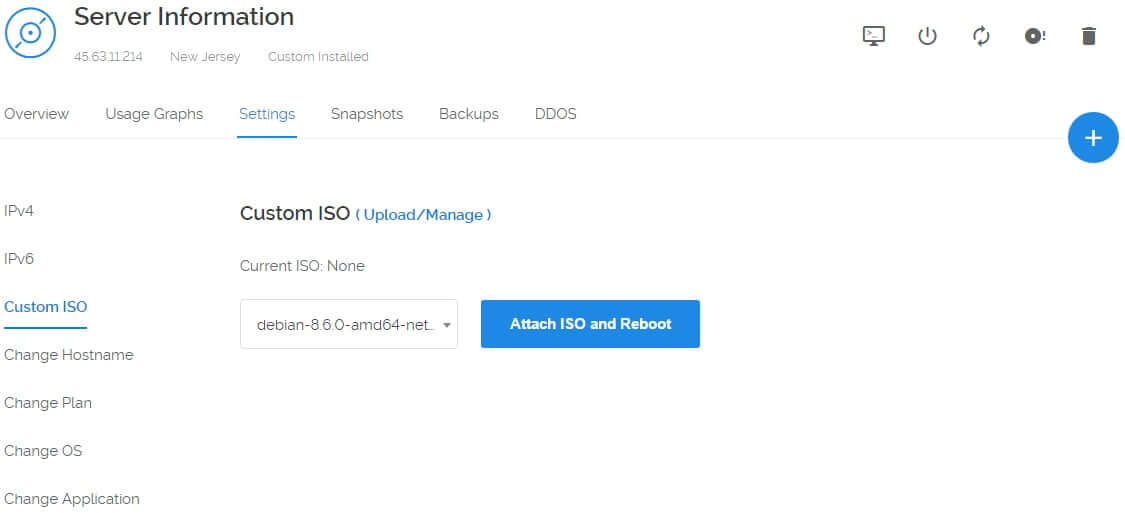
3. Go to Server information, then click on custom ISO , then click on Attach ISO and Reboot.
This will allow the VM to boot from the ISO.
4. Click on View Console to view the server itself, in order to start the installation of 3CX.

Then click on “install” to start the installation.

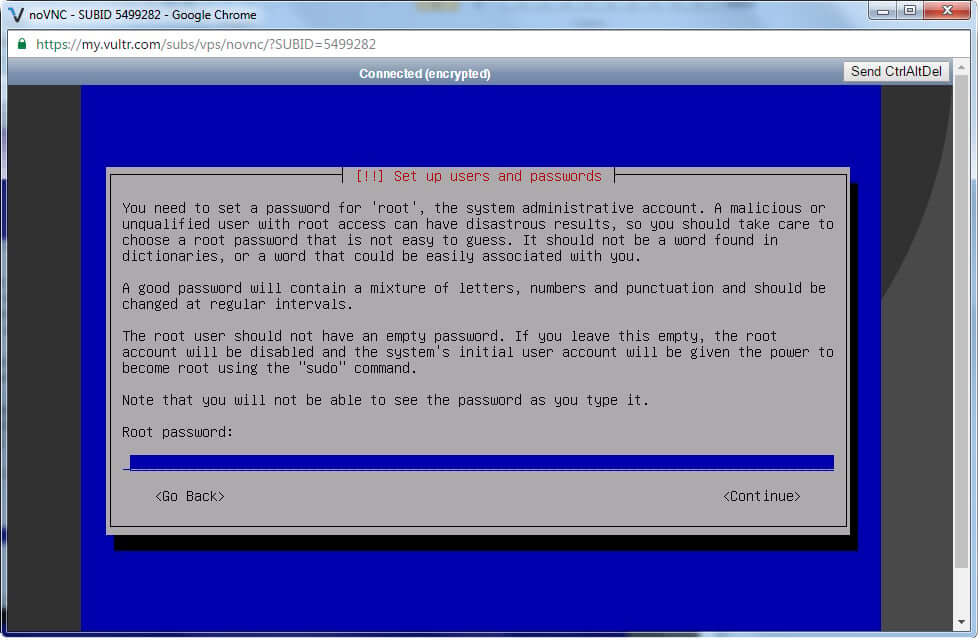
5. Enter in your root password for the installation of Linux, which is not the same as the admin password in 3CX, This is the Linux Root Password for Console Access.
6. Choose to use the entire Disk.
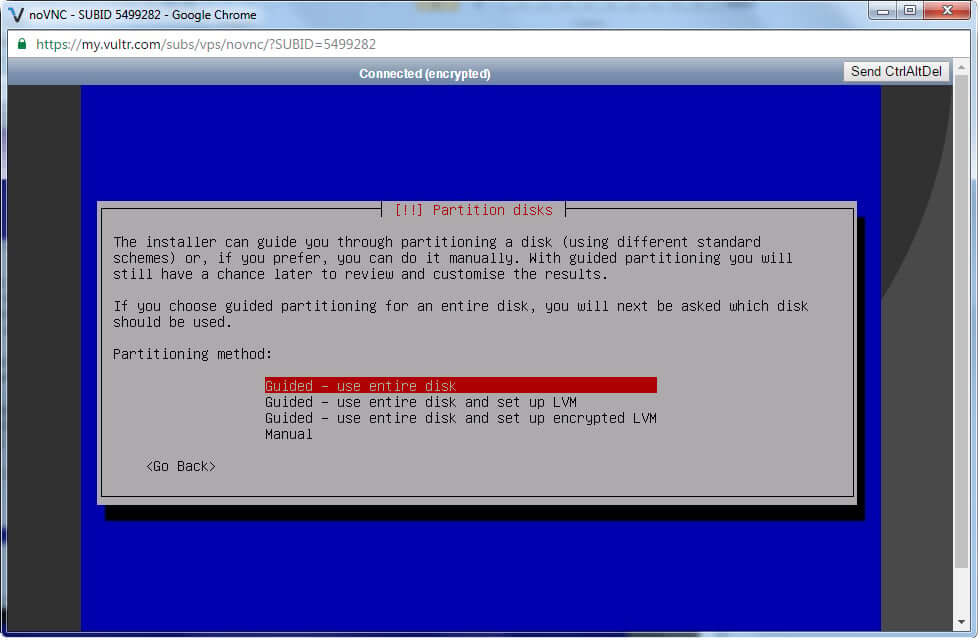
7. Confirm and write changes to Disk.

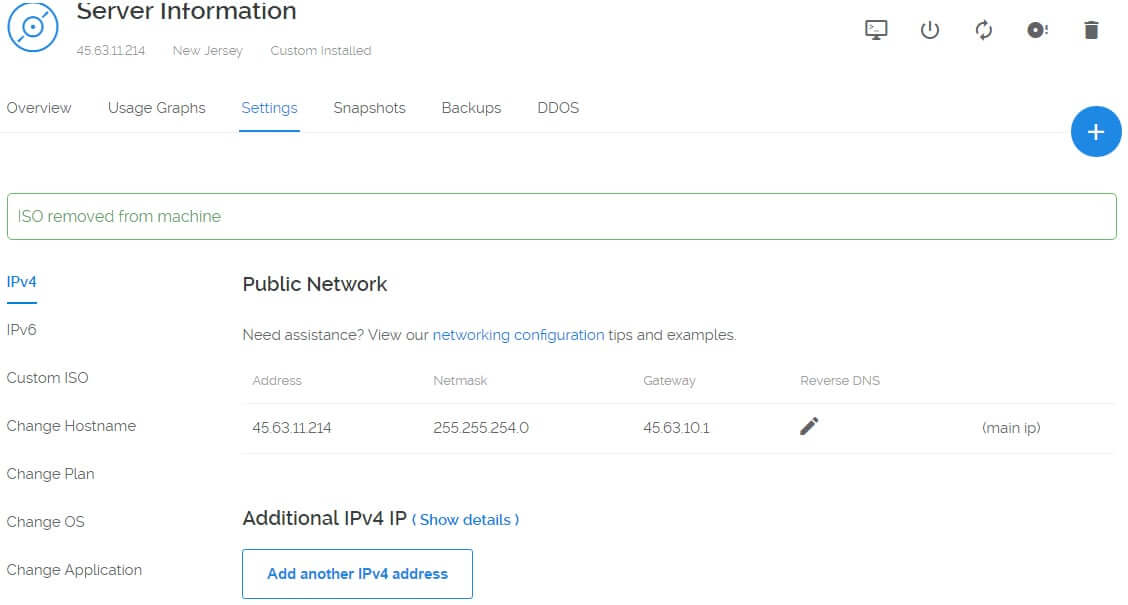
8. Once completed, Linux will reboot the VM. At this point you’ll need to go back to the Vultr Web Interface to tell it to not boot anymore from the ISO.

So, we’ll need to “Remove ISO” by going to Server details, then Custom ISO -> Settings.

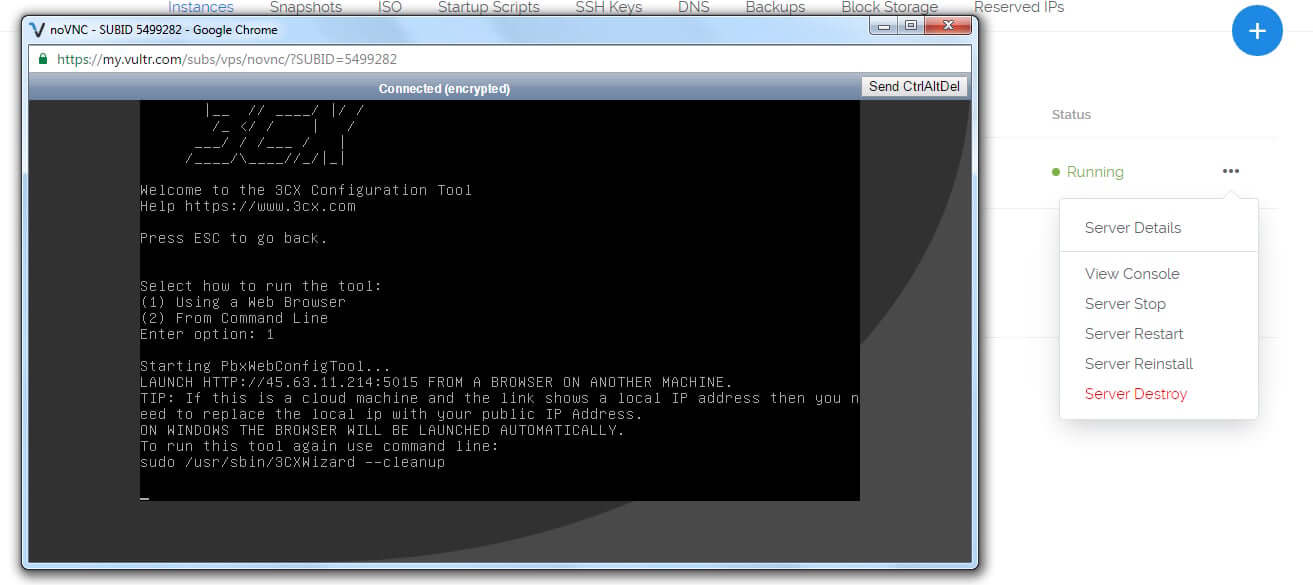
9. When the ISO is removed from the boot process, click to view console again, to and continue the installation.
10. Choose option 1, for the web browser configuration setup.

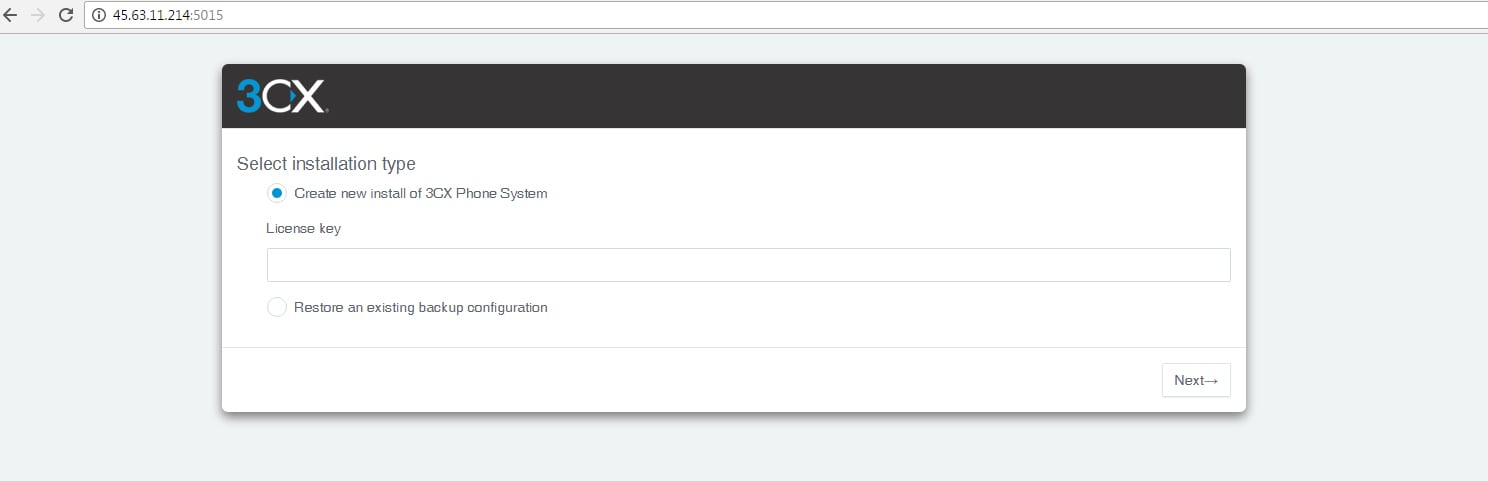
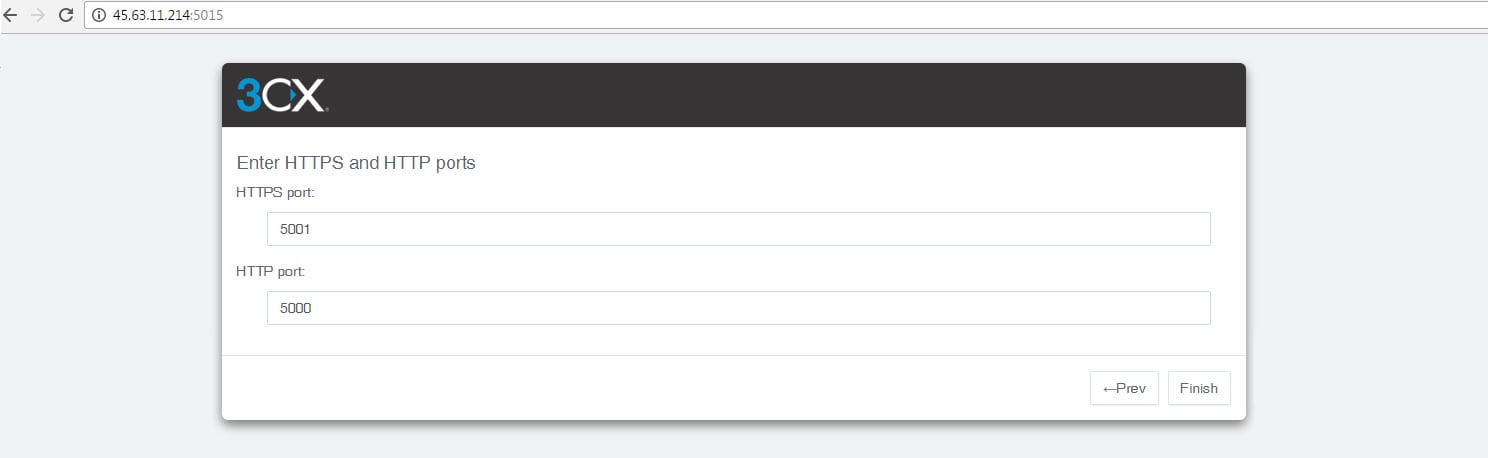
Then Open a new browser window and navigate to your IP Addres:5015 .
11. At this point, continue with installation, and answer all Questions and enter your License Key.
12. At this point you’ll be asked to choose a Username and Password for the Administration of 3CX.

13. Choose Public Static IP Address.

14. Choose the port you’d want to use on the Web to access 3CX.
15. After completing all steps in the installation, you’ll be given all the details necessary in order to login to the main 3CX PBX administration on your server.

CREATE ACCOUNT
Free trial is available for IT infrastructure managers and developers.