


Zoiper basic setup guide
Zoiper basic setup guide

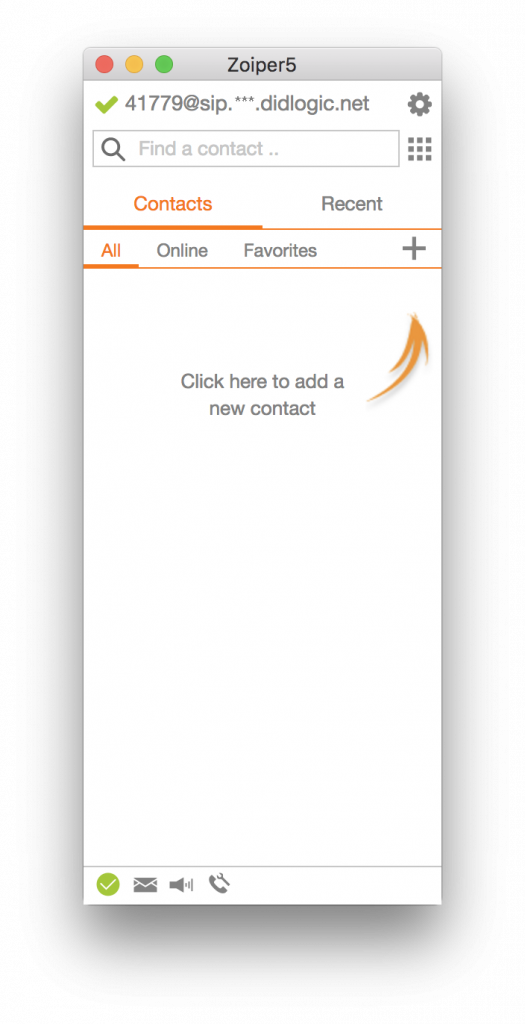
Zoiper installation and configuration instructions
1. Download Zoiper softphone from zoiper.com and install it on your computer following the instructions in the Installation manuals section.
Once installation is completed, you’ll need to create a new account in which to attach your existing sip account within DID Logic.
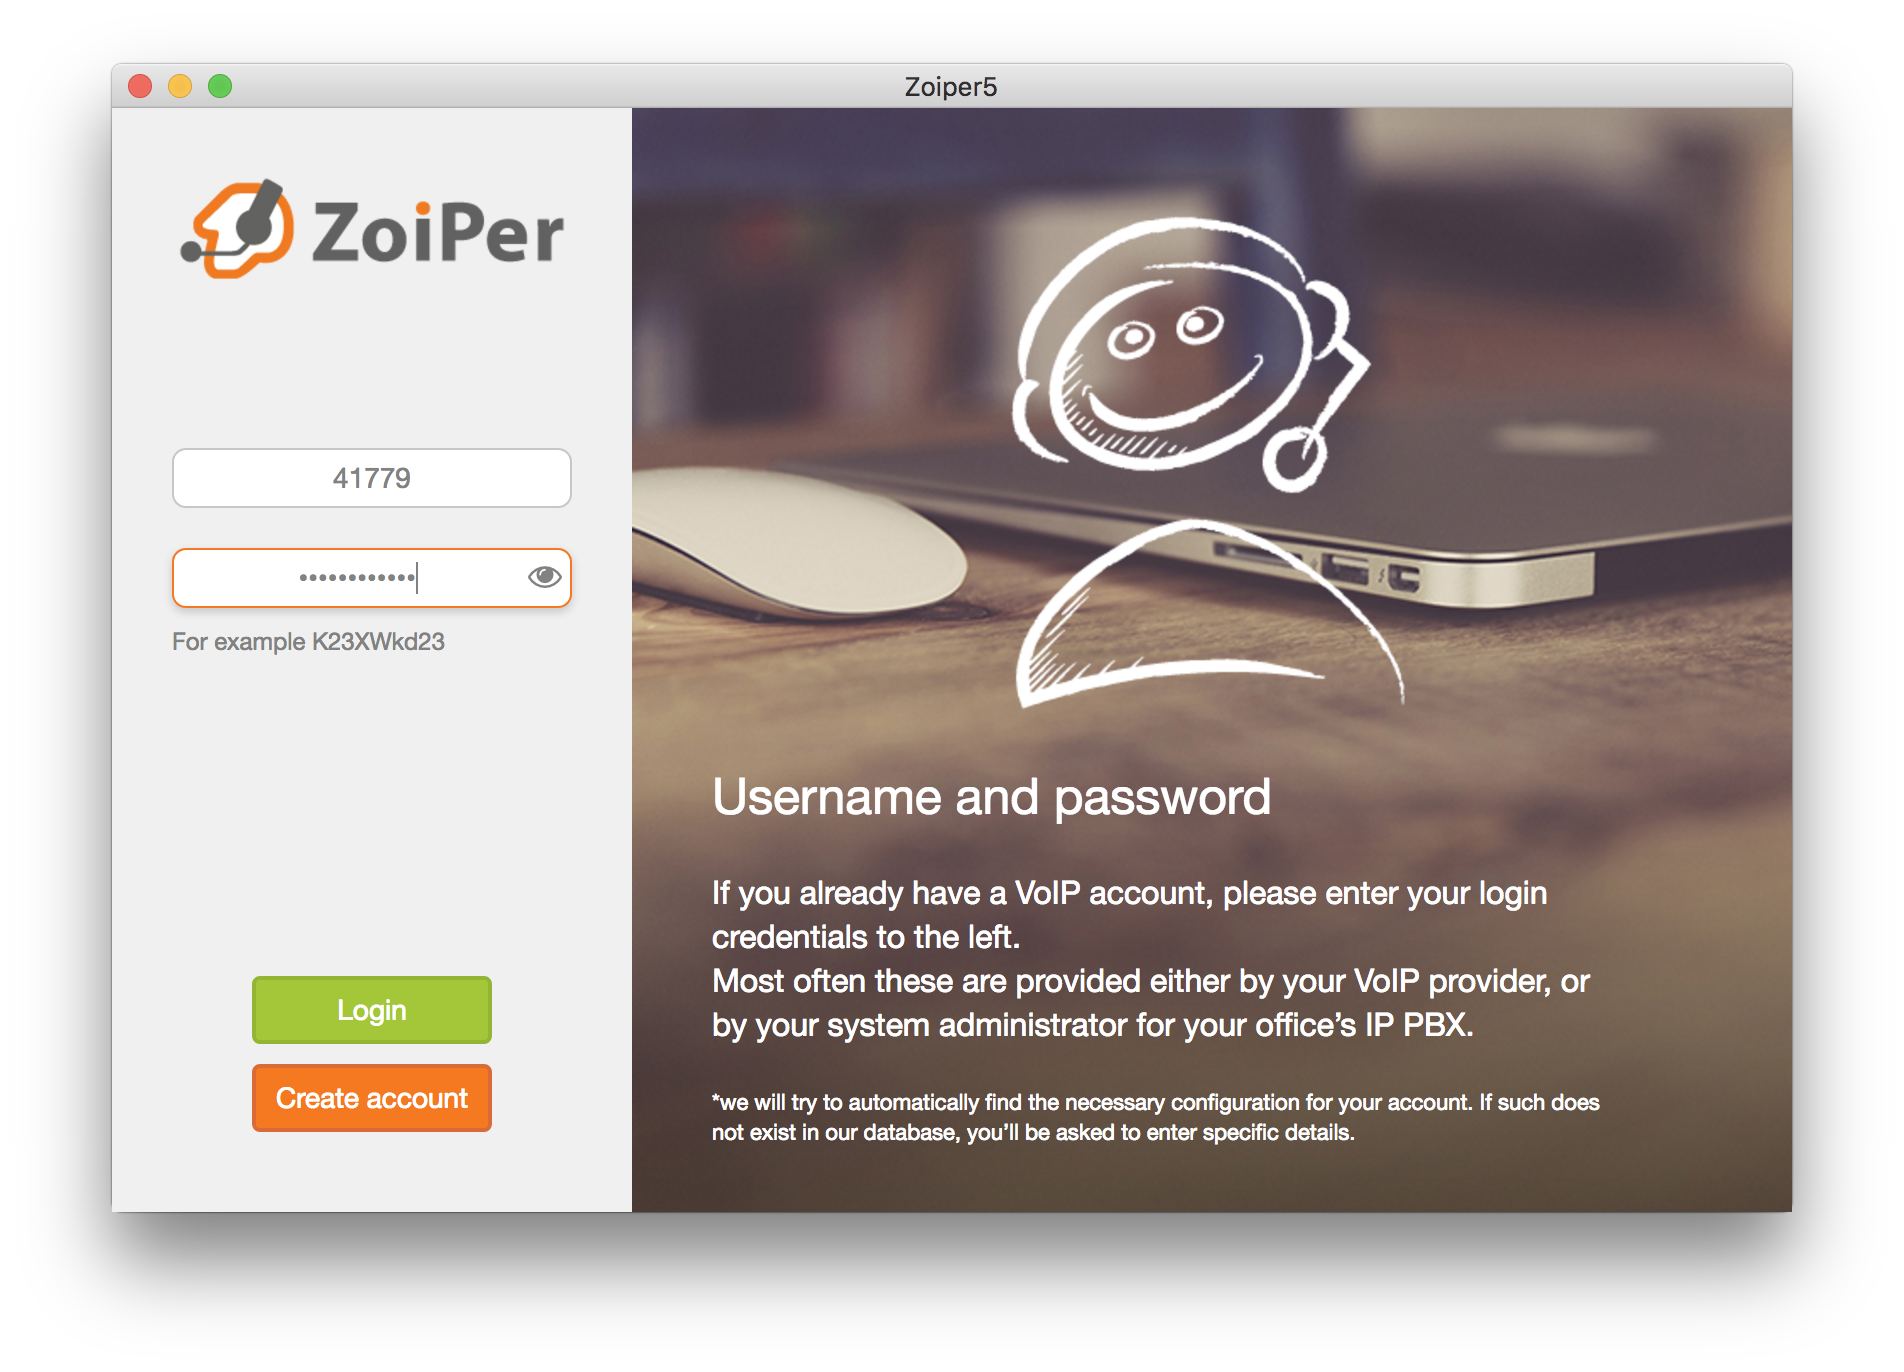
2. Run Zoiper end enter the following information:
- Your SIP User Account as the “user” from DID Logic (a 5 digit number) which will be provided to you after create a sip account or (sub account);
- Your password which you’ve created from DID Logic;
Click “Login”.
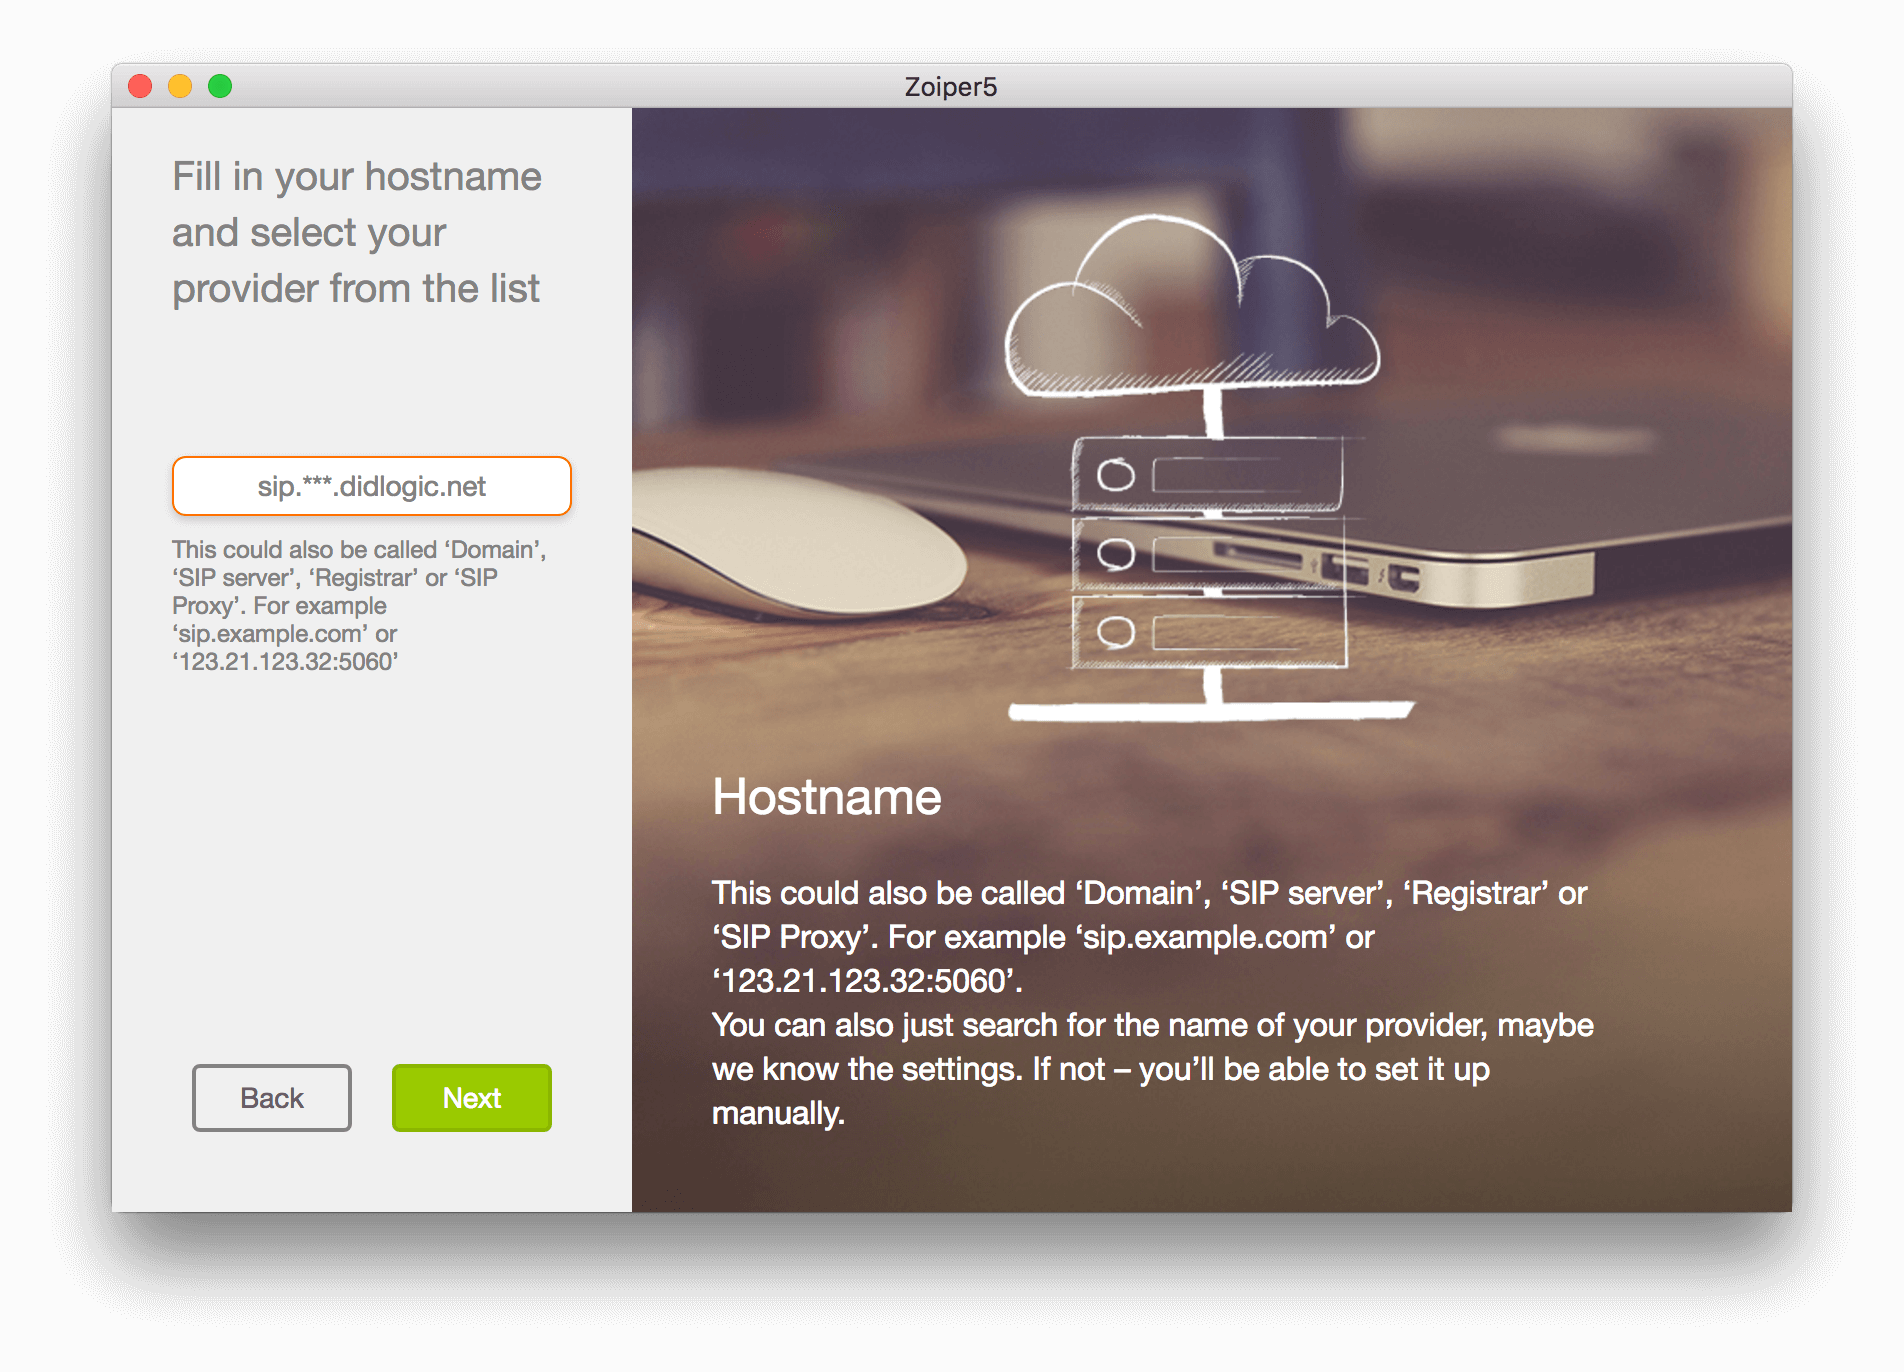
2. Enter the SIP Proxy. There are many to choose from depending on your geographical location. Log in to your DID Logic account on the web, go to SIP, on the bottom you’ll notice a list of SIP Proxy servers.
If you live in the East Coast of the US, use sip.nyc.didlogic.net . If you’re closer to the UK, use sip.uk.didlogic.net, etc.
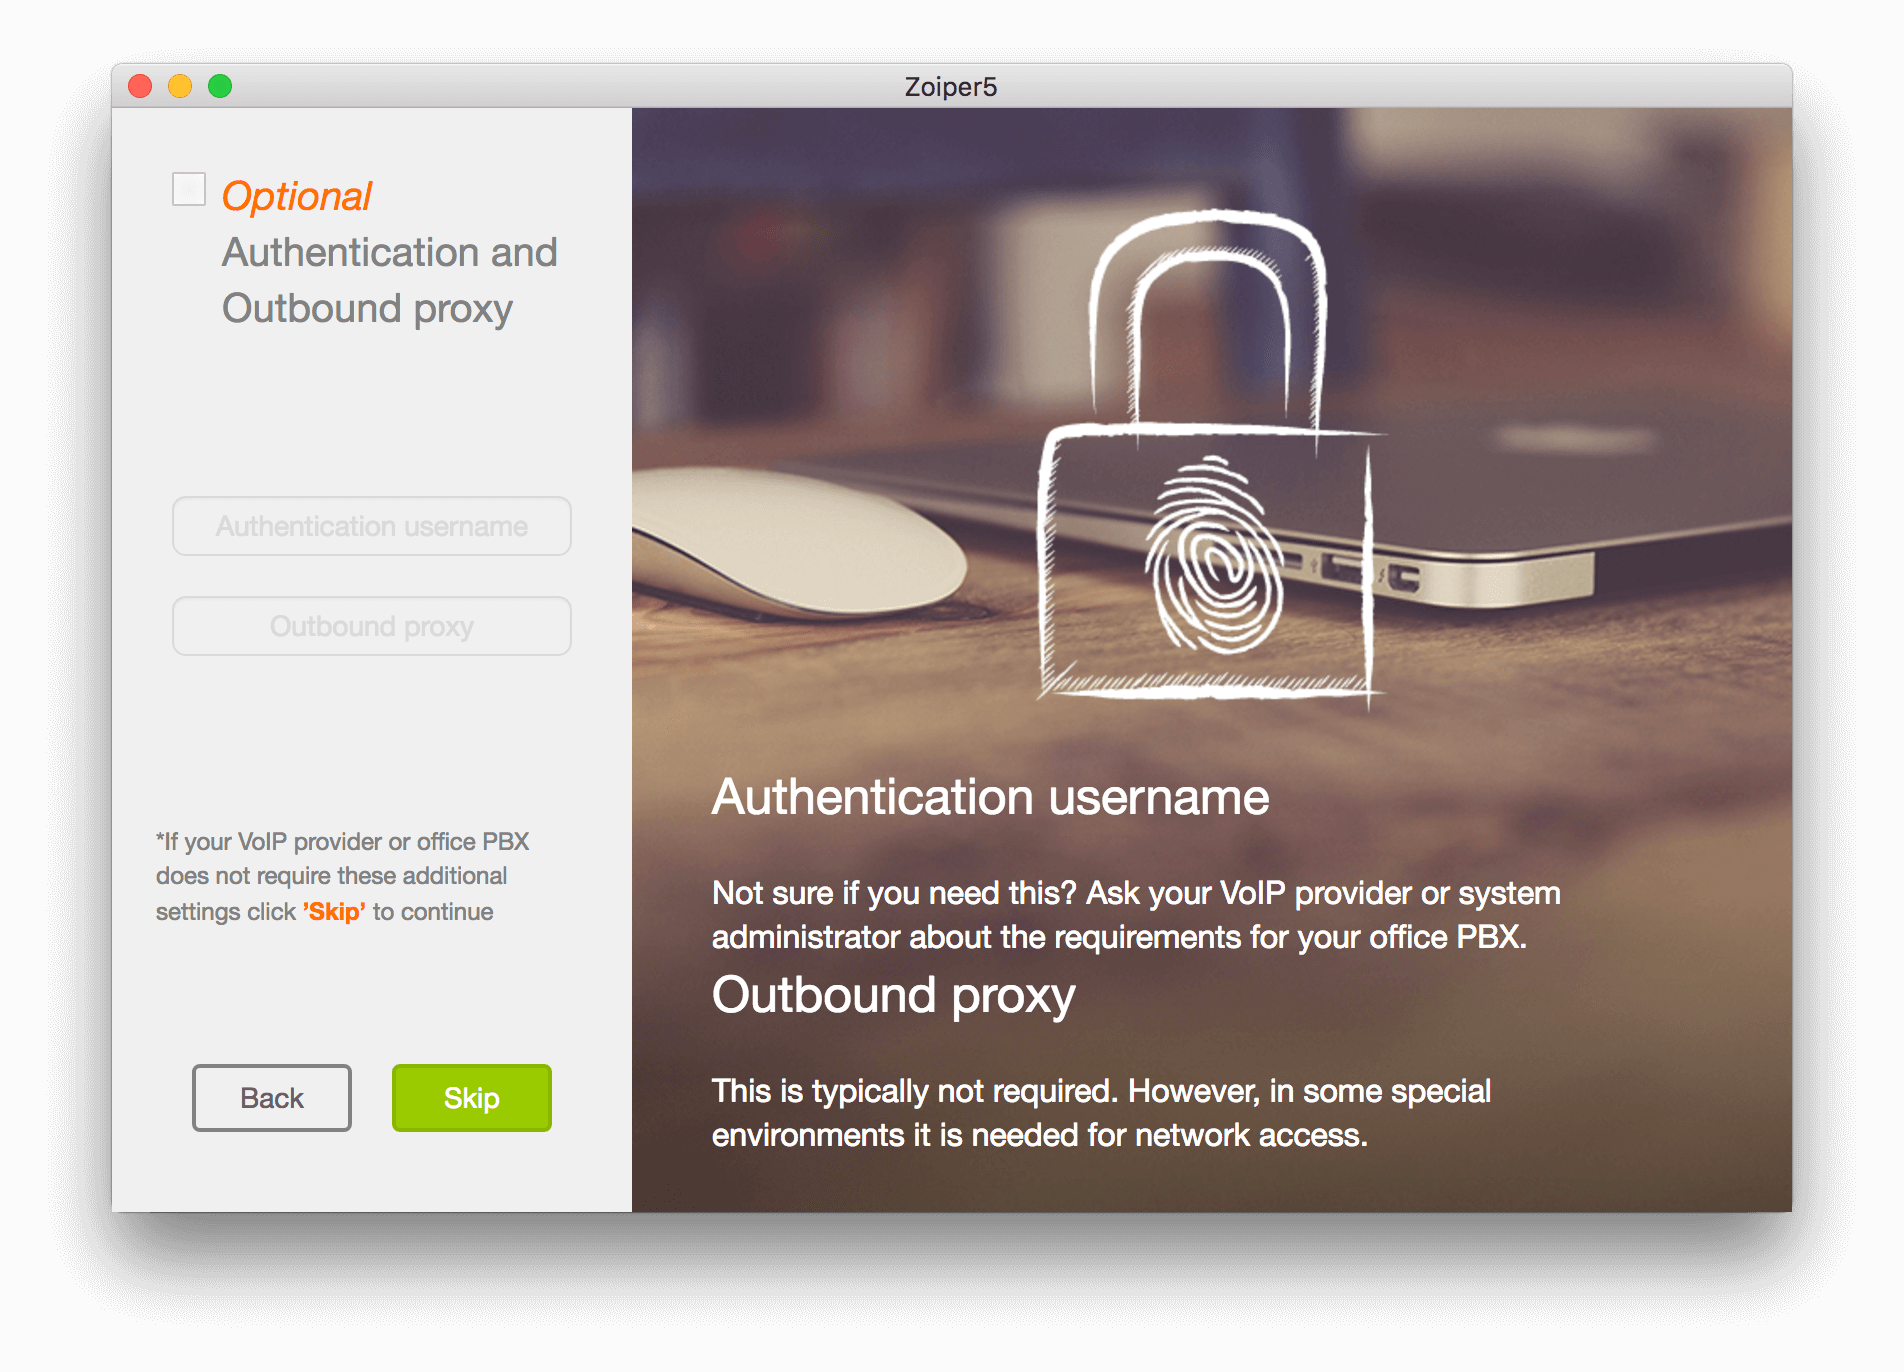
3. Just click “Skip” on a next step.
4. And you’re done!
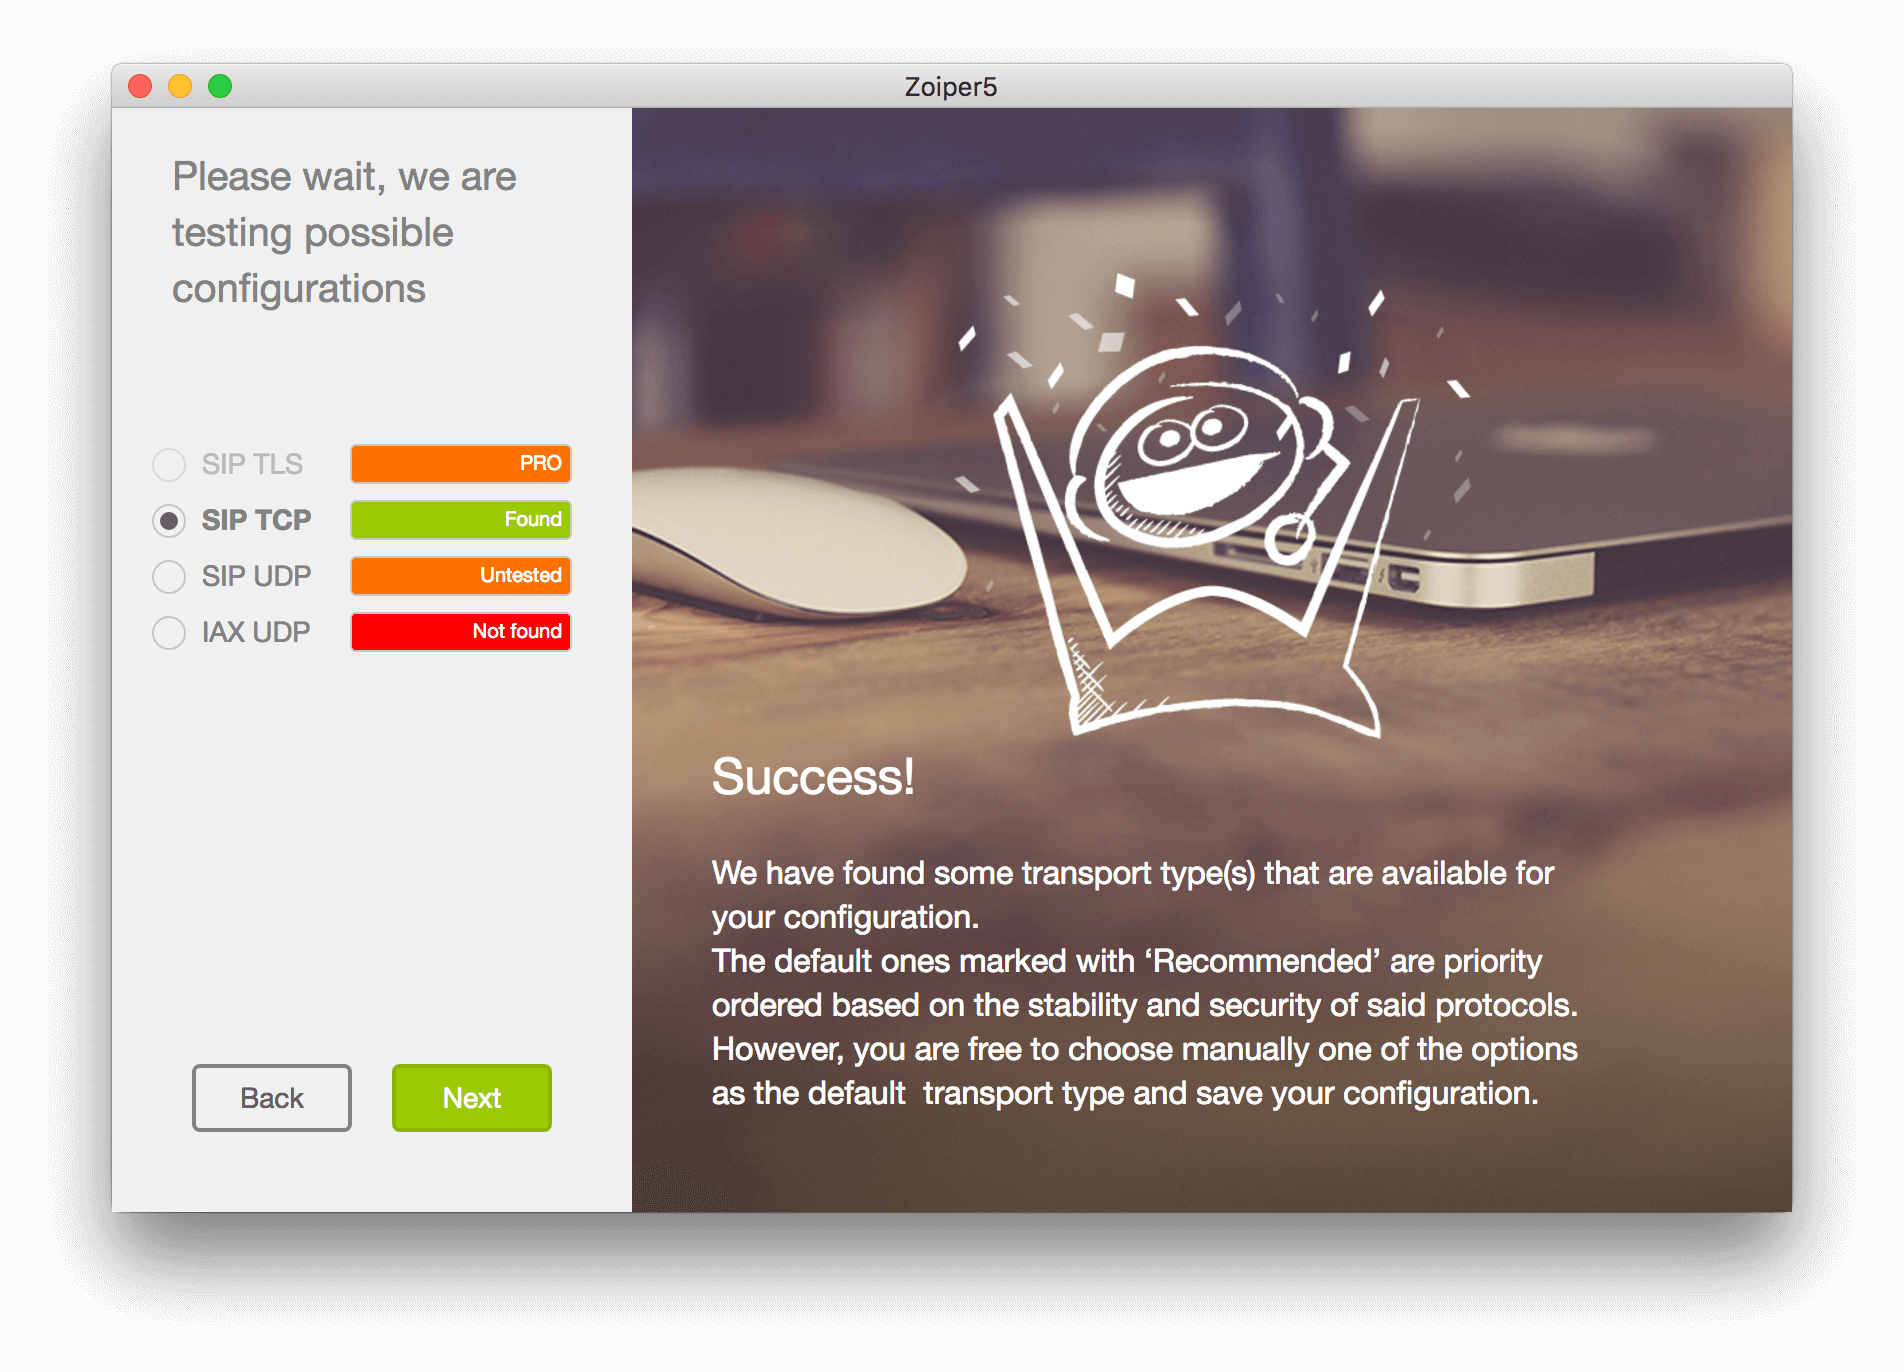
Click on dialpad to start making calls.
PLEASE NOTE: *** in the hostname configured must be replaced by the name of a regional proxy,
e.g. sip.nyc.didlogic.net
Troubleshooting Common Issues
Registration Failures
If Zoiper fails to register with DIDlogic:
- Verify your username and password are correct
- Ensure your internet connection is active
- Check that port 5060 (UDP/TCP) is not blocked by your firewall
- Try changing the transport protocol (UDP/TCP)
- Verify your account is active with DIDlogic
Audio Quality Problems
If you experience poor call quality:
- Connect via wired Ethernet instead of Wi-Fi when possible
- Check your bandwidth using an online speed test
- Prioritize G.711 codecs for clearer audio
- Verify that QoS is enabled on your router
- Reduce the number of active devices on your network during calls
Echo or Feedback Issues
For echo or audio feedback problems:
- Use a headset instead of speakers when possible
- Adjust microphone gain settings
- Enable echo cancellation in Zoiper
- Check for physical causes of echo in your environment
- Update to the latest version of Zoiper
Advanced Configuration Tips
Enhancing Security
Protect your SIP trunk connection by:
- Enabling SRTP for encrypted audio if supported
- Using TLS for signaling security
- Setting a strong password for your SIP account
- Implementing IP restrictions in your DIDlogic account
- Regularly updating Zoiper to the latest version
Business Continuity Planning
Ensure continuous availability by:
- Configuring call forwarding rules for network outages
- Setting up voicemail-to-email for missed calls
- Implementing failover routing in your DIDlogic account
- Testing your setup regularly from different networks
- Documenting your configuration for quick recovery
FAQs About Zoiper Configuration
Can Zoiper handle multiple SIP accounts simultaneously?
Yes, Zoiper supports multiple concurrent SIP accounts from different providers. This capability enables you to manage separate business lines or create failover options using different SIP trunk providers. Simply add each account following the same configuration steps, and Zoiper will allow you to select which account to use when making outbound calls. You can even set default accounts for specific number patterns.
How do I optimize Zoiper for mobile use with DIDlogic?
When using Zoiper on mobile devices with DIDlogic, enable battery optimization exceptions for the app, configure mobile network use (not just Wi-Fi), adjust codec preferences to favor lower bandwidth options when on cellular networks, and set up push notifications instead of maintaining constant registration to preserve battery life. These adjustments help ensure reliable operation while minimizing data usage and battery drain.
What are the recommended bandwidth requirements for clear calls?
For optimal voice quality, each concurrent call requires approximately 85-100 Kbps of dedicated bandwidth in both directions. HD voice codecs like G.722 or Opus may require up to 150 Kbps per call. Beyond raw bandwidth, connection stability is equally important, consistent latency below 150ms, minimal packet loss (less than 1%), and low jitter are essential for clear communications. Testing your connection using Zoiper’s built-in network quality tool helps identify potential issues.
Free trial is available for IT infrastructure managers and developers.