


GoAutodial setup guide
Create the DID Logic trunk entry in GoAutodial
Log in into your admin account at “abc.goautodial.com”. For testing purposes, we have been provided a didlogic.goautodial.com sub-domain which will be used throughout this document.
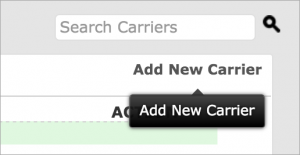
1. To provision a SIP trunk to DID Logic, locate a menu on the left and go to “Admin Settings -> Carriers” page.

Click “Add New Carrier” in the upper right corner.
A Carrier Wizard menu will appear, choose “Manual” from the drop down menu and click Next.
To fill in the form you will need to obtain SIP credentials at didlogic.com. Your web username and password for goautodial service won’t work here. You will then need to set Authentication mode to “Registration”, Server IP/Host to ‘sip.nyc.didlogic.net’. To ensure best quality we recommend to limit the set of codecs to G711 ulaw/alaw. DTMF Mode should be set to RFC2833.
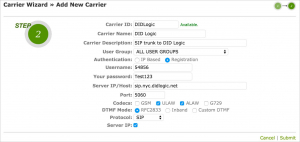
Click the Submit button.
2. The next step is to activate the trunk.
Tick the checkbox next to the group. Then from the dropdown menu, choose Action -> Activate Selected.
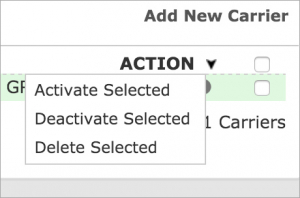
The trunk should now change status to Active.
![]()
This concludes SIP trunk provisioning procedure.
Agent phone registration
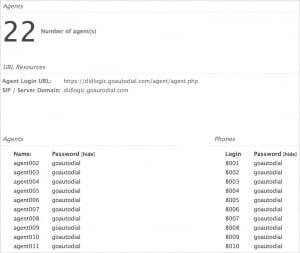
The list of agents and their log in credentials for both web and phone authentication as well SIP Server Domain address is found at the main Admin page.
1. The domain is didlogic.goautodial.com and agents must register their sip phones with this proxy.
2. Softphone setup.
We are using simple Zoiper softphone in this example. After the agents installs the client, go to Settings -> Create a new account.
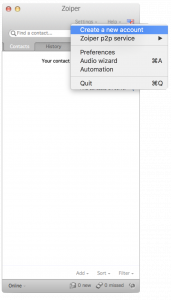
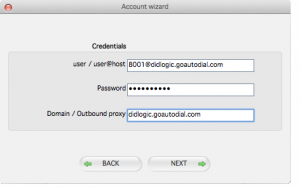
Choose SIP as Account type.

Use the Phone login and password information as displayed at the abc.goautodial.com admin page. Set abc.goautodial.com as the Domain/Outbound proxy, didlogic.goautodial.com in this testing scenario.
When the softphone automatically suggests Account name, leave unchanged.
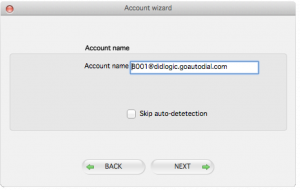
Click next to close. You softphone is all set.
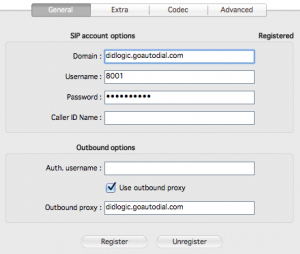
You can check that the sip softphone is registering with the abc.goautodial.com server. Go to Preferences and find your account. See Registered message in the upper right corner of the respective window.
3. The last part is an introduction to Campaign management. For testing purposes we will keep it very simple.
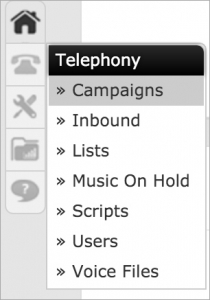
Go to your admin page at goautodial.com. On the left you can locate Telephony -> Campaigns menu, click the dropdown menu.
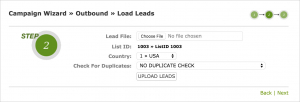
Campaign Wizard will appear.
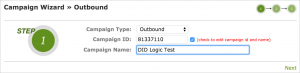
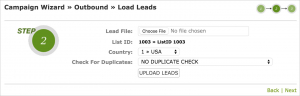
It auto suggests Campaign Type and ID, we used Outbound and just renamed it to Test. At Step 2 you can upload your leads, define covered countries and enable duplicate check.
At step 3 you will need to choose Carrier that will be used for this campaign.
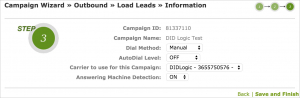
You campaign is all set.
Agents must go to their web login page, which is different from login page Admin uses. The address can be located at the Admin home page.
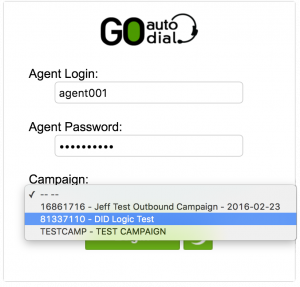
Agent must be informed on the name of the campaign and as soon as they login they receive an incoming call.
As soon as agent accepts the call he/she gets redirected to the campaign dialog page.

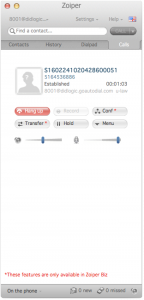
For the sake of the simplicity we will use manual dial as depicted below.

Success, we have reached AT&T customer service number!

Free trial is available for IT infrastructure managers and developers.